Hey guys!
I’ve got quite a bit of people messaging me regarding maparts so I thought, I might as well make a tutorial to help peeps out there that wants to make one but are confused where to start!
Disclaimer because it’s the internet: I am not a professional minecraft mod maker, nor do my knowledge of minecraft mods is unlimited. Everything I did was pretty much typing "how do I install x " on google, so if what I’m recommending here isn’t the best, feel free to tell me in comments and I will gladly edit this post to add your suggestion.
Alrighty, we are all set so here we go!
I. The process
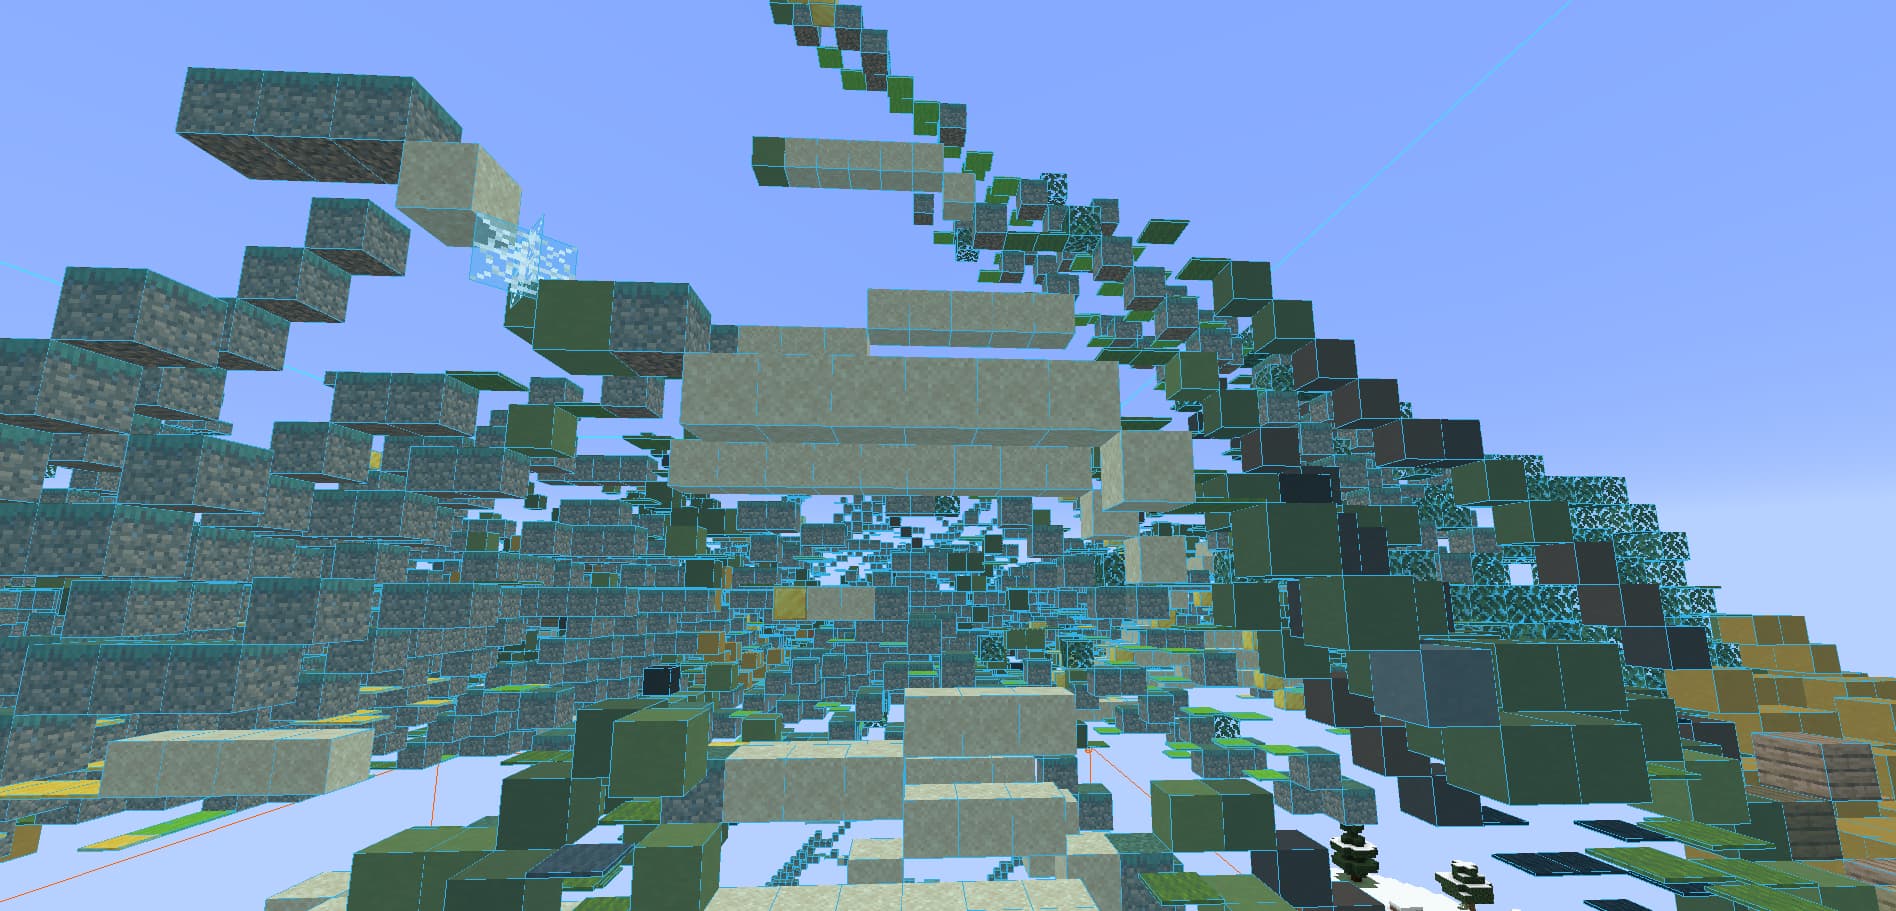
Let’s get one myth out of the way: Mapart makers don’t manually chose the blocks they will use for their maparts, nor do they just zoomed in a pixelated version of their picture they want to do and then proceed to somehow put them in game. Well, some of them do, but most of them don’t! It’s actually way simpler than that! What we are using is a schematic version of our picture that has been automatically created by an online mapart generator! Once you activate your schematic in game, it will look like this:
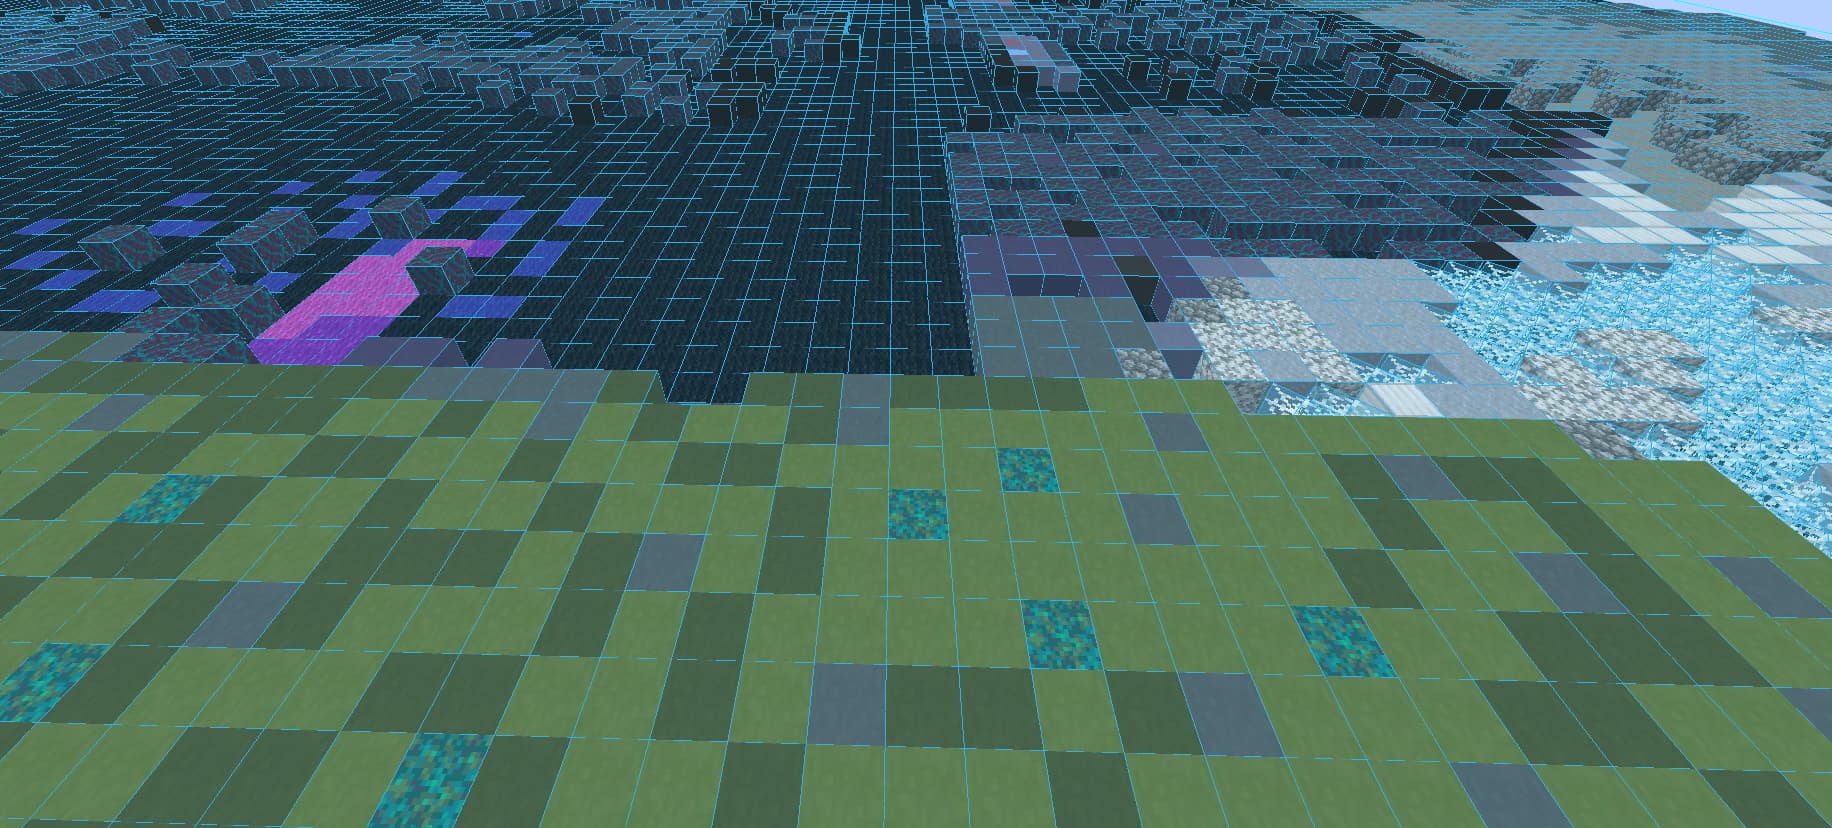
As you can see, the schematic will show you the blocks you need to place, then you just have to place them!
and the most complicated thing is to actually install the mod.
II. The claim
Before anything, you should claim the place your mapart will be. Some claim for every mapart they make, that way the art stays permanently on the server, others rather have one main mapart claim for all their maparts and remove the blocks to make another one once they are finished.
Once you have find a big, empty place to claim (oceans are great for that), make sure your claim is perfectly centered on your map. For that, I recommend filling an empty map, and then finding the corners with blocks:
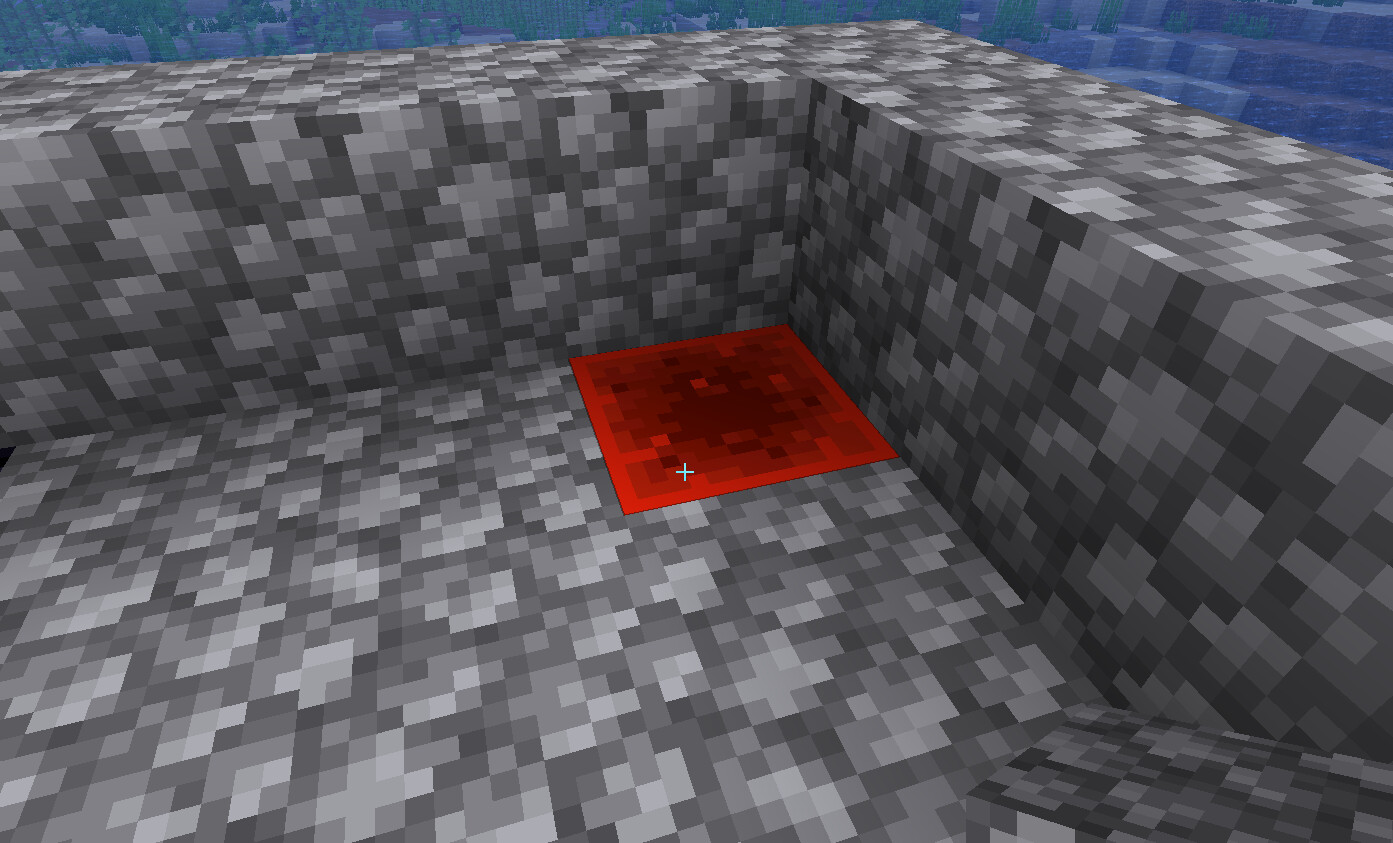
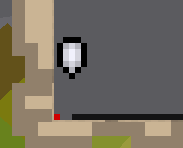
As you can see on the screenshots, my redstone block is at the very corner of my mapart. If I couldn’t see that red dot on my map, or if it was like this:

Then I would have to move it around until it’s exactly at the corner of the map.
Once you have all your 4 corners perfectly centered on your map, you can claim!
 Did you know?
It’ll will take you 16 512 blocks to claim/fill an entire map! Yes, it’s expensive, but it’s worth at the end, trust me!
What I recommend if you have enough claim blocks is to expand 5 blocks in all directions, that way you can make a nice border like so:
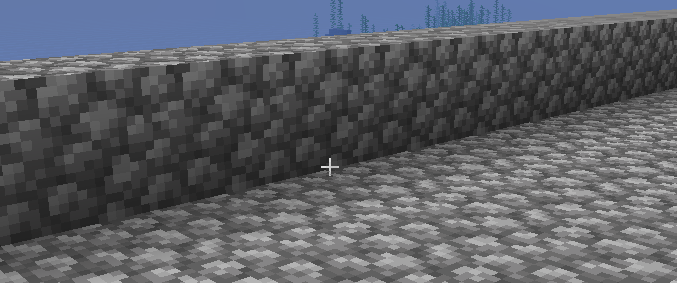
It’ll prevent your blocks to fall into water if you claimed on an ocean, but also if you don’t do it you’ll notice that you blocks on the first row of the mapart will look lighter than the others. That’s because blocks on north of each other make a shadow. Here is what I mean:
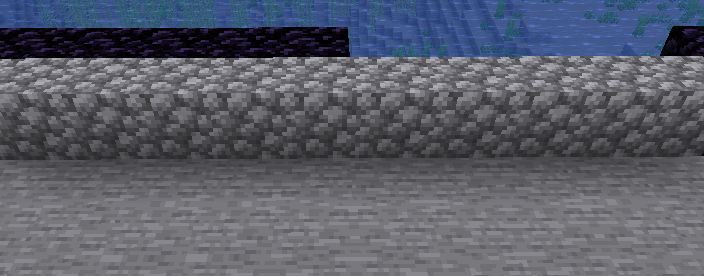
As you can see, I’ve cut my border in half, and the the first row of my map is cobblestone.
![]()
You can notice on my mapart that the first line has 2 colors, one lighter than the other, and that my second line is darker! That’s because my border blocks, outside of my mapart is making a shadow onto the blocks in my mapart, and my first raw of cobblestone is making a shadow into the air blocks of the second row of the mapart. If you want your first line to look good, especially when considering doing multiple parts maparts, then make sure to border your map!
One last recommendation: I recommend using obsidian instead of cobblestone as you can see in some of my screenshots. The reason why is that that way, when you use super breaker or haste 2 potions you won’t risk breaking your own plateform, and also obsidian make a full black background. You won’t need to use any black carpets anymore!
II. The schematic mod
I don’t want to make any publicity, I’ll just recommend Litematica, that’s the one I’m using and it’s great. It’ll probably take you a bit of trial and error until you install it correctly, so make sure to watch and read tutorials and make sure to read the “read me” files before installing!!
III. The schematic
There is a few schematic generators out there for maparts but the one I’m using is this one: MapartCraft
There is a few options so let me explain them all as much as I can:
III. A. Block Selection
Before anything, make sure to select something here. I usually pick “Everything” and then I manually chose which blocks I want to work with. You will notice that a lot of blocks are replaceable so make sure to play around with that!
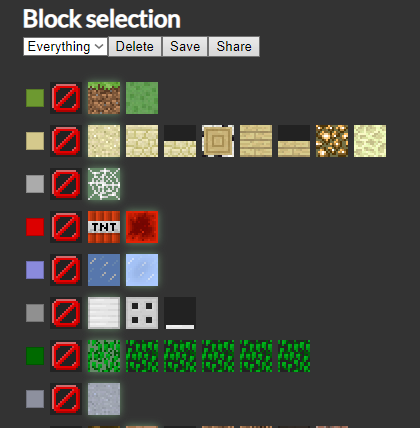
Did you know?
Cobwebs blocks can be replaced with mushroom stem!
III. B. Map preview and settings
This will be the preview of your mapart, how it will look like in game.
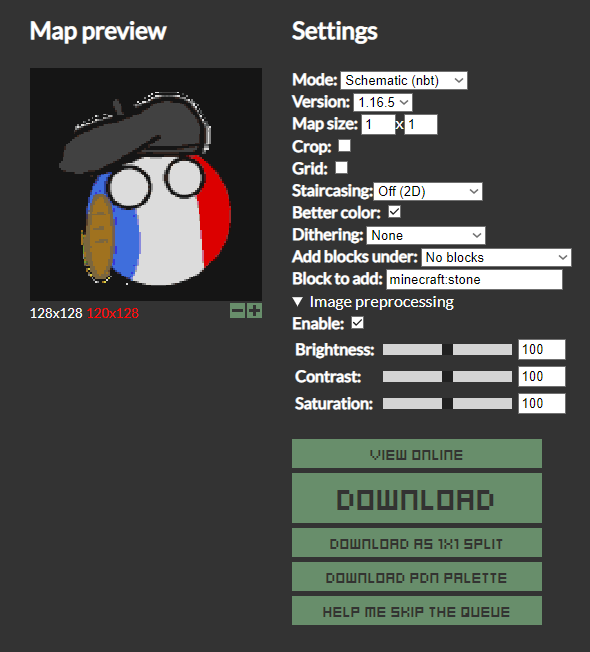
A few words about the settings:
Make sure to select the schematic (.nbt) one if you are using Litematica!
The version 1.16.5 is better for survival (it gives more colors)
The Crop and Grid options, I never used those, but feel free to play around with them
Better color I always activate it, of course
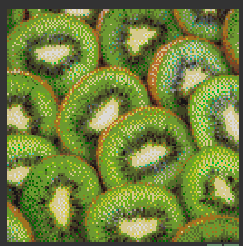
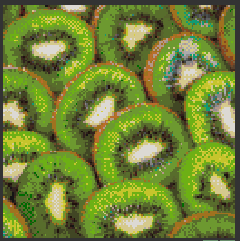
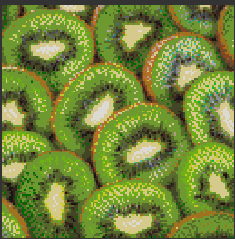
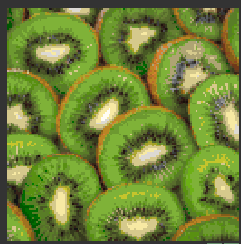
Dithering Feel free to play around with that, not all maparts look good with atkinson or floyd-steinberg. Actually some look best with none of those so feel free to play around and pick the one you like the best. Here are some examples:
Dithering : none
Floyd-steinberg
Bayer 2x2
Atkinson
You may have noticed I’m not talking about staircasing. If you activate it, you may notice your mapart looks a lot smoother and nice:
But if you try to download the schematic, you’ll probably want to cry:
A lot of mapart artists don’t do staircasing unless absolutely necessary. I for one never did one and don’t plan to (: There’s always a way to play with the options and dithering to make your mapart look good even in game. Use staircasing at your own sanity risk!
Add block under + block to add: Those are for when you don’t have a mapart plateform or use staircasing. That way the schematic will automatically generate blocks under sand, carpets, blocks like those.
Image processing: if you enable it it allows you to change the contrast and saturation of your picture directly on the website.
Once you are happy with the preview, you can download your mapart.
Word of advice
If your mapart size is more than 1x1, make sure to download it as 1x1 splits! It makes it easier to track down the work you have done, and also prevent having to manually place the parts you need to do!
Once downloaded, you will just have to put it in your schematics folder inside your .minecraft:

Then you just have to open it in game!
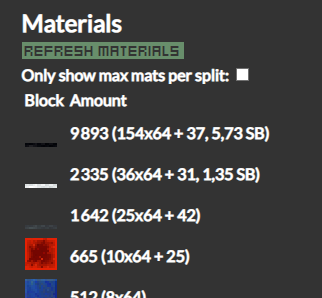
VI. C. Materials
Very straightforward ! It’ll help you knowing how many of each blocks you’ll need before starting that mapart, very useful when you are starting and don’t have a lot of ressources!
VI. Tips and tricks
One thing I recommend is making a sorter next to your mapart claim. That way, when you remove your mapart you just have to dump all the blocks into one chest and it’ll automatically sort everything. It’s a HUGE gain of time.
Also, have fun!! Don’t feel pressured to make anything in a certain amount of time, for most people making maparts is relaxing and we find ourselves to “zone out” when we do them. If you make mistakes and you notice them after you locked the mapart and started to destroy it, don’t stress out because it’s only a few pixels here and there. Trust me, no one will notice except you so just let people enjoy your art :)
Well… I hope this guide was useful. Sorry for the mistakes, english isn’t my first language.
I will see you all in game :D ![]()