My First Guide!!!
How to Gain the Power of the Wand
So, to even get access to edit the armor stand one must first look inside themselves and unlock at least these 6 following skills-
Base skills- Craftsman, Creature Hunter, Farmer
Advanced Skills- Builder, Explorer
Ultimate Skills- Architect
To get at least these 6 skills you will need to be level 45+ so get ready to grind if you haven’t already. Now this is not a skills guide you can do like the rest of us and refer to the lovely skills guide that Cheater posted here → An Introduction to Skills - Server Discussions / Feedback / Survival - MunchyMC Forums. Once you finally unlock the Ultimate skill of Architect one of the abilities you unlock is to… I bet you won’t guess this.. make custom furniture! Well I guess you also get to edit armor stands.
With Great Power Comes Great Building
Ok so here is where the fun but also tedious part starts so this may be a little yappy but don’t worry, I have pictures.
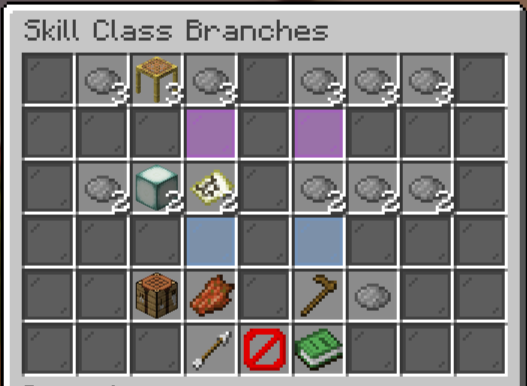
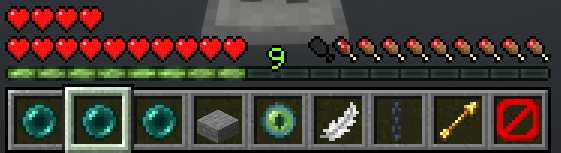
To start editing armor stands you simply type in chat /editarmorstands, this will switch out your inventory with one filled with all the tools needed for your convenience (don’t worry once you exit out of edit mode your items will be exactly how you left them in your inv).
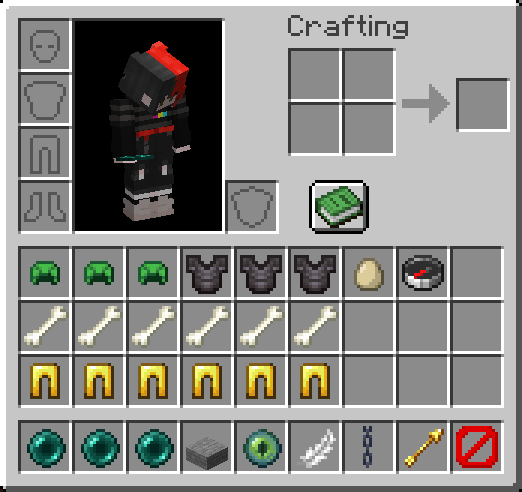
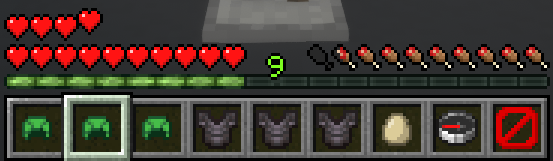
This may look confusing at first but it’s actually easier than it seems. When you’re actually editing you only have to deal with one row at a time in your hot bar and to cycle through the rows just left click the air with any item.
I made this picture below and wrote the explanation with a mouse because I was too lazy to do it the other way, but you can also find this information in game by hovering over the items.
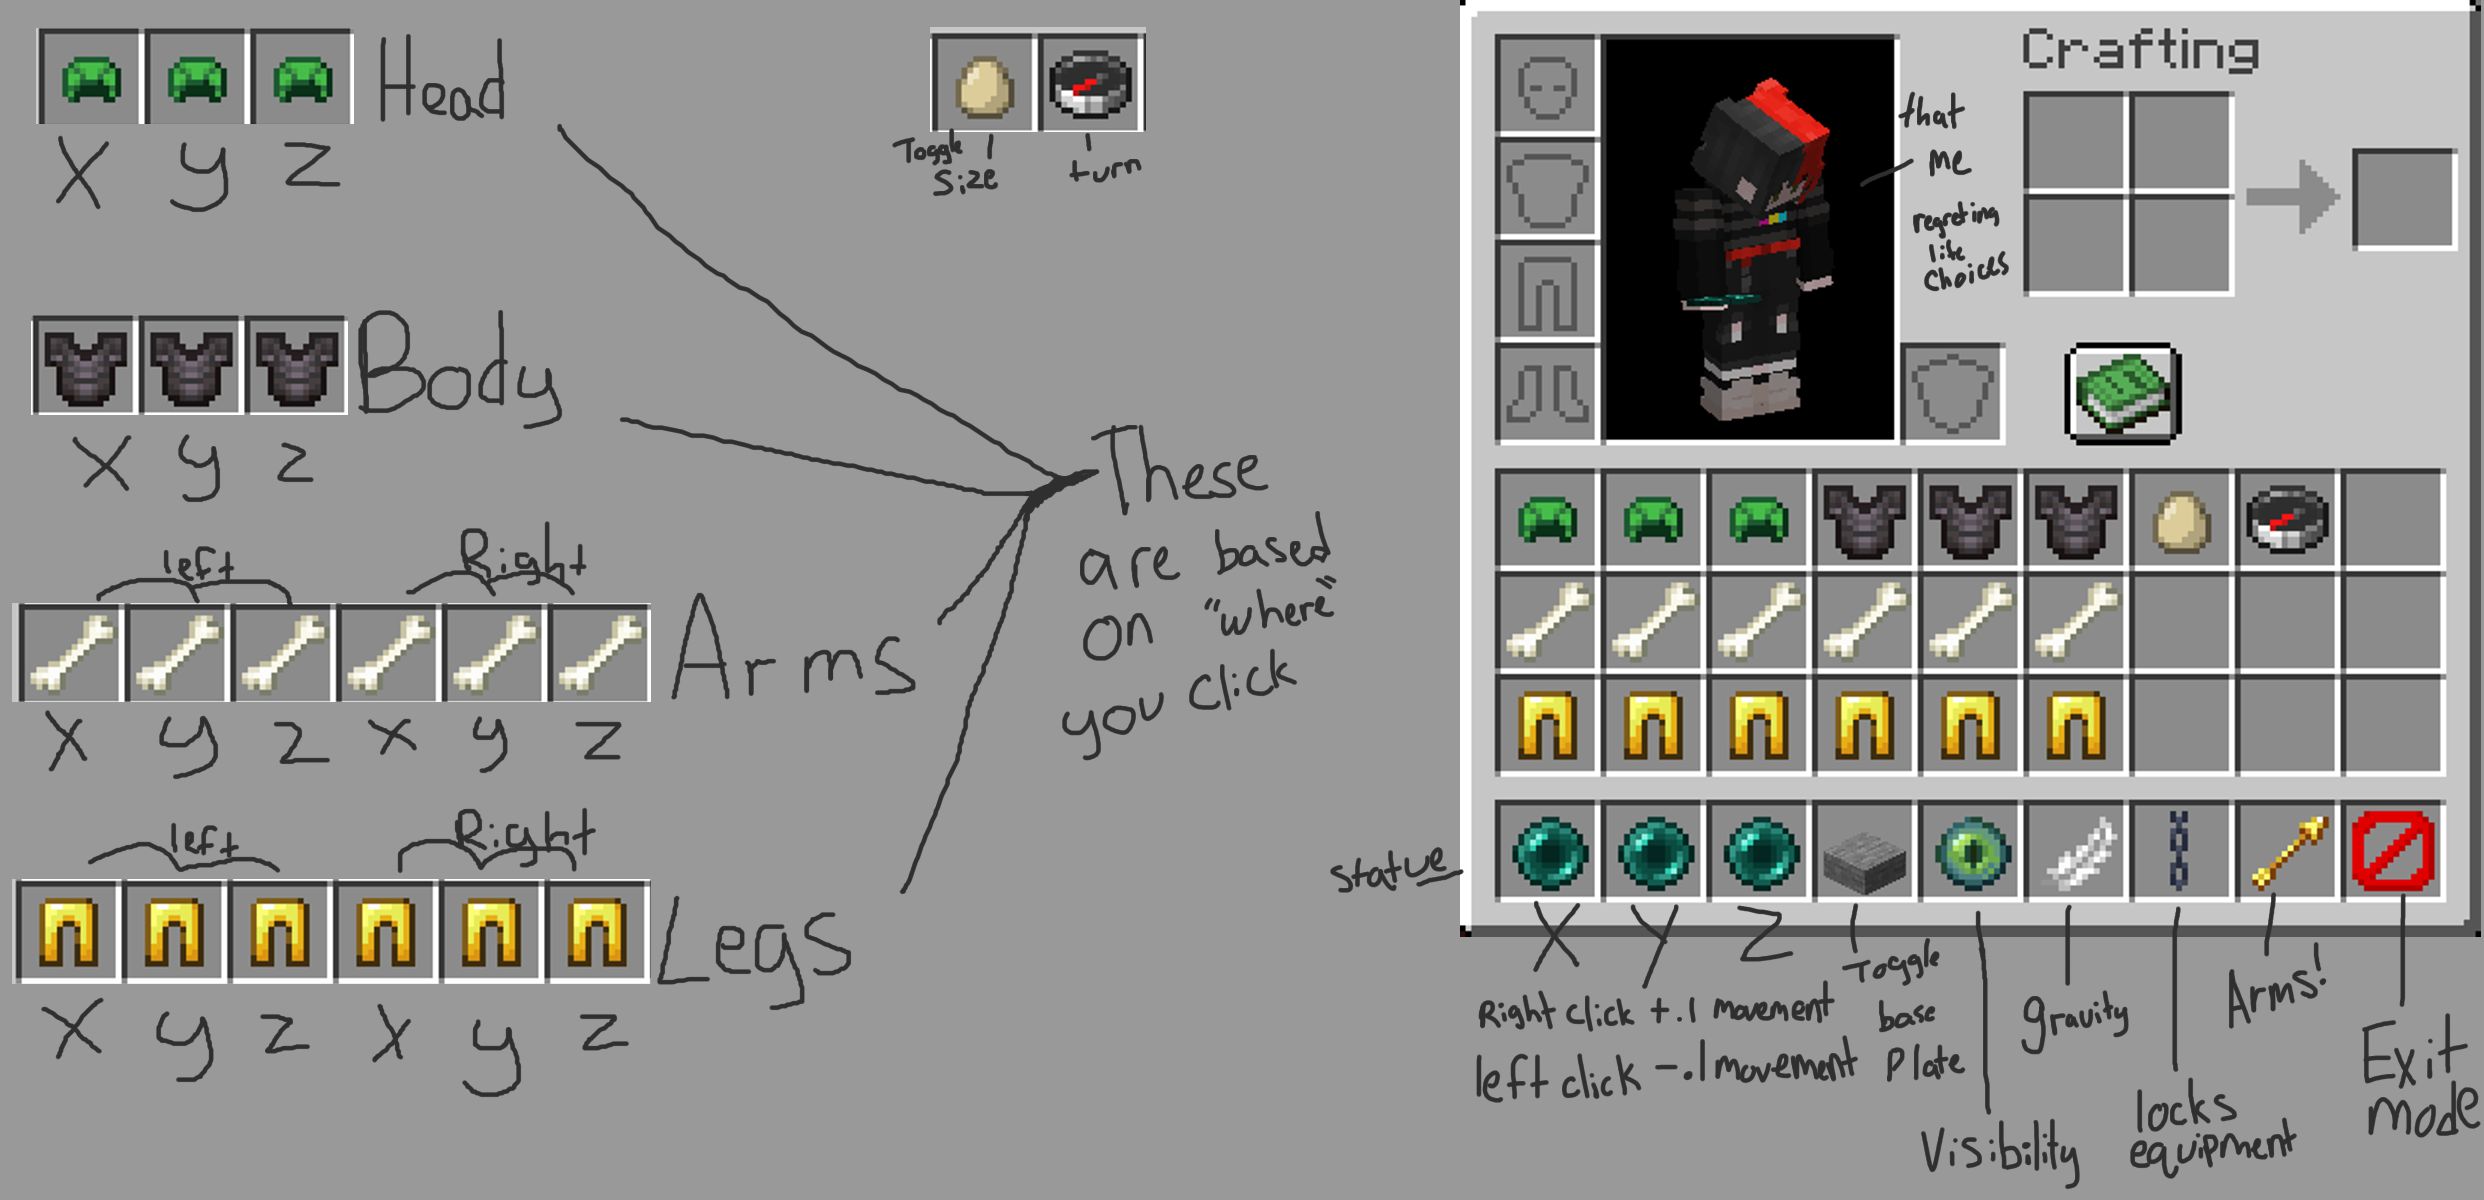
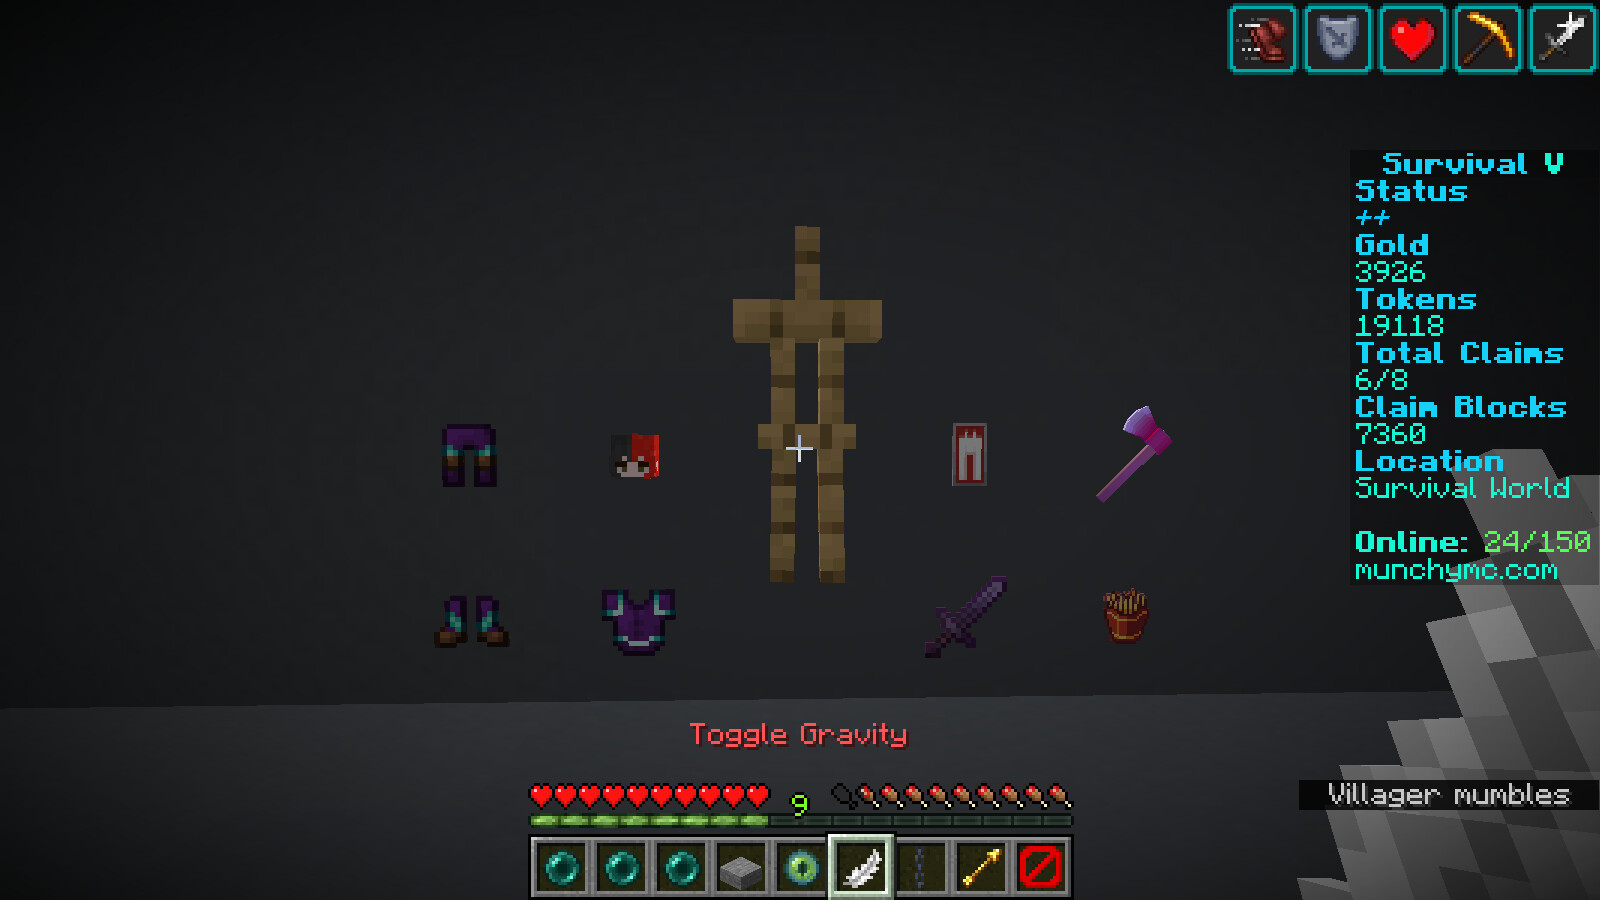
Depending on what goals you have in mind for your armor stands this may differ or even if you have different preferences, but my next moves are always these same 3 steps. While still in the first row of tools take the stone slab and right click your armor stand this gets rid of the base plate.
Then using the feather right click the stand to toggle gravity (this means it can float but also stops a weird side effect that happens when you move the armor stand into the ground and it falls all the way to the top of the next full block).
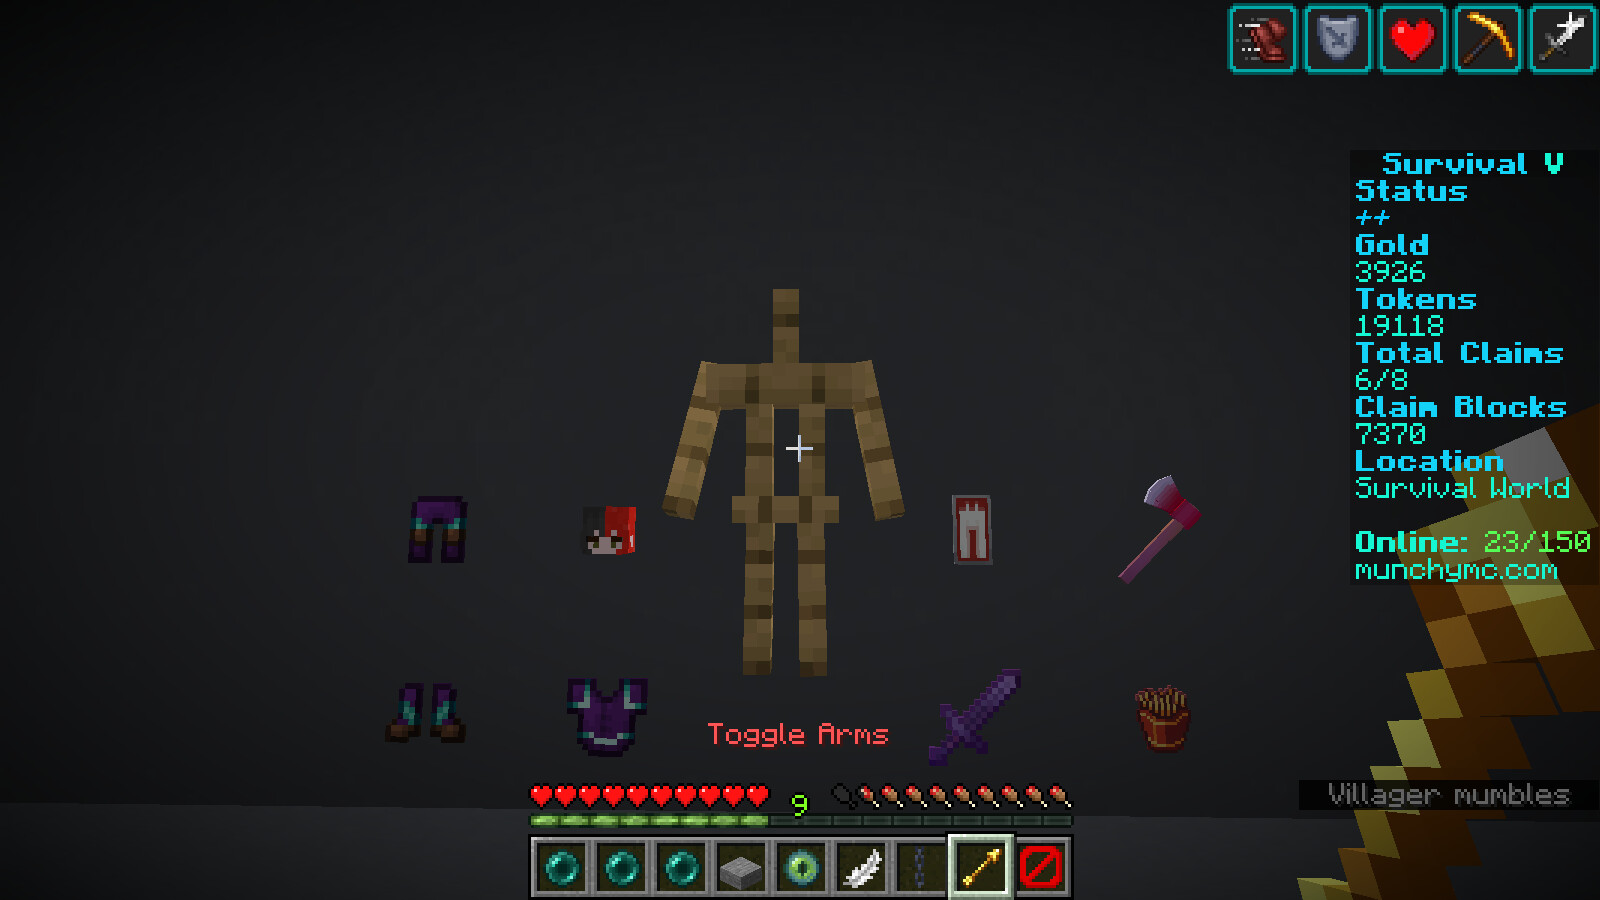
The last of the 3 steps I do before the fun bit on all of my armor stands is I switch to the spectral arrow to toggle arms.
I’ve been experimenting with arms and the different things you can put in them, and I think I may have a better understanding of it. The right hand of the armor stand will probably be the arm you should focus on this most because I’ve found this one can hold most items including but may not be limited to - food, weapons, blocks, and banners. Sadly, armor stands can only hold one head at a time and that is on the head slot so the right hand cannot hold the cute mooshroom plushie head.
The left hand of the armor stand is a whole other story however as so far, I have only found one thing it can hold. Sheilds.

This is the part where it gets creative
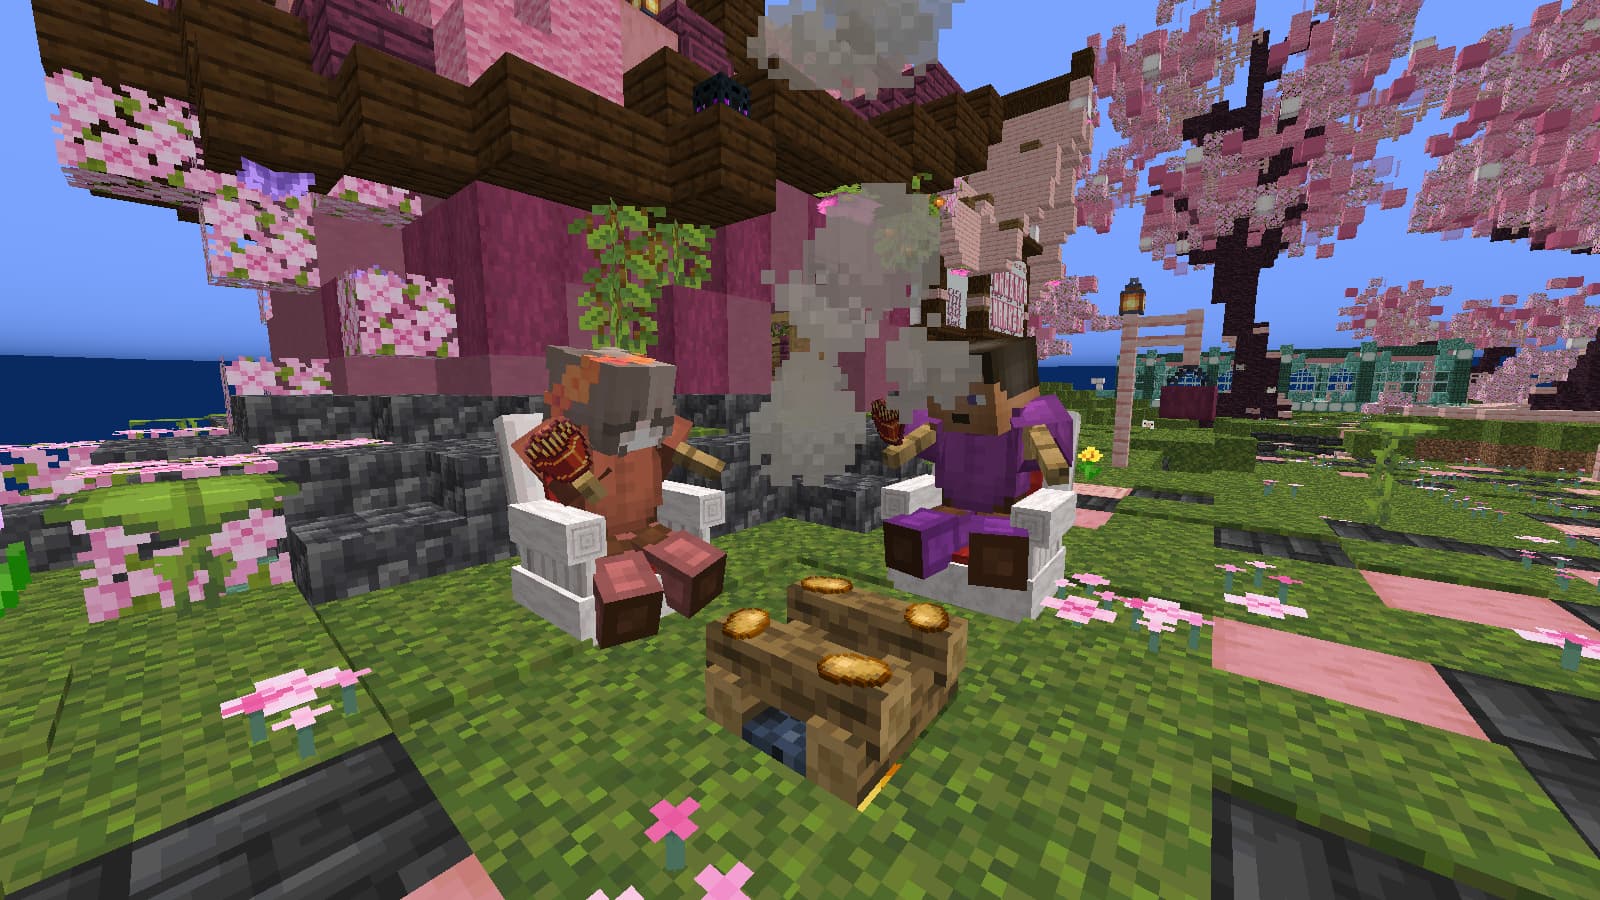
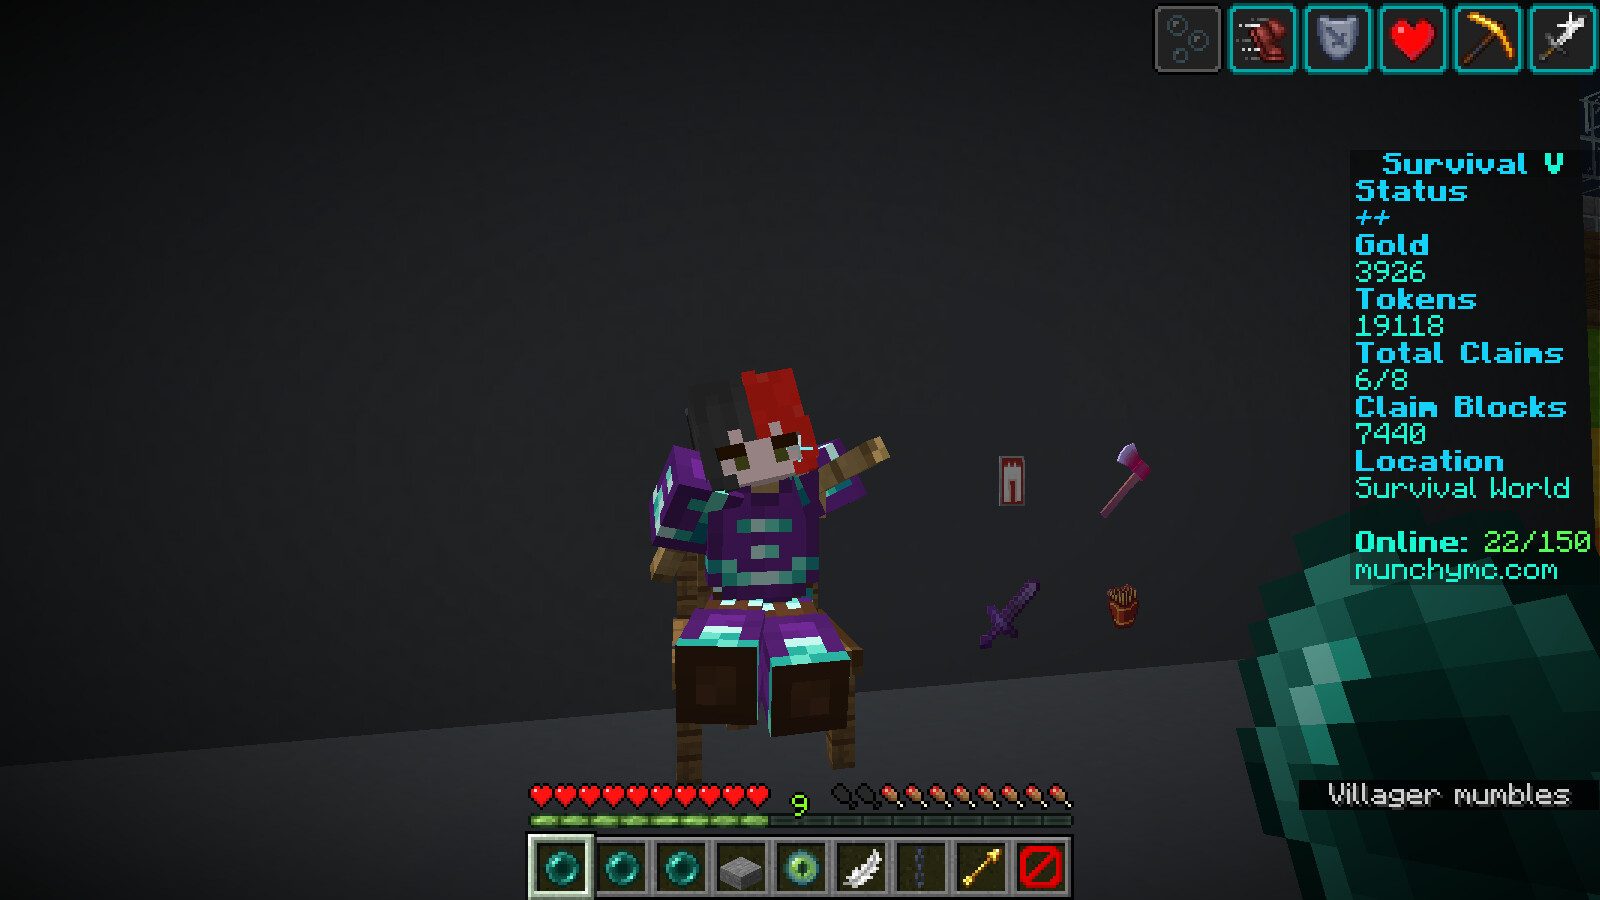
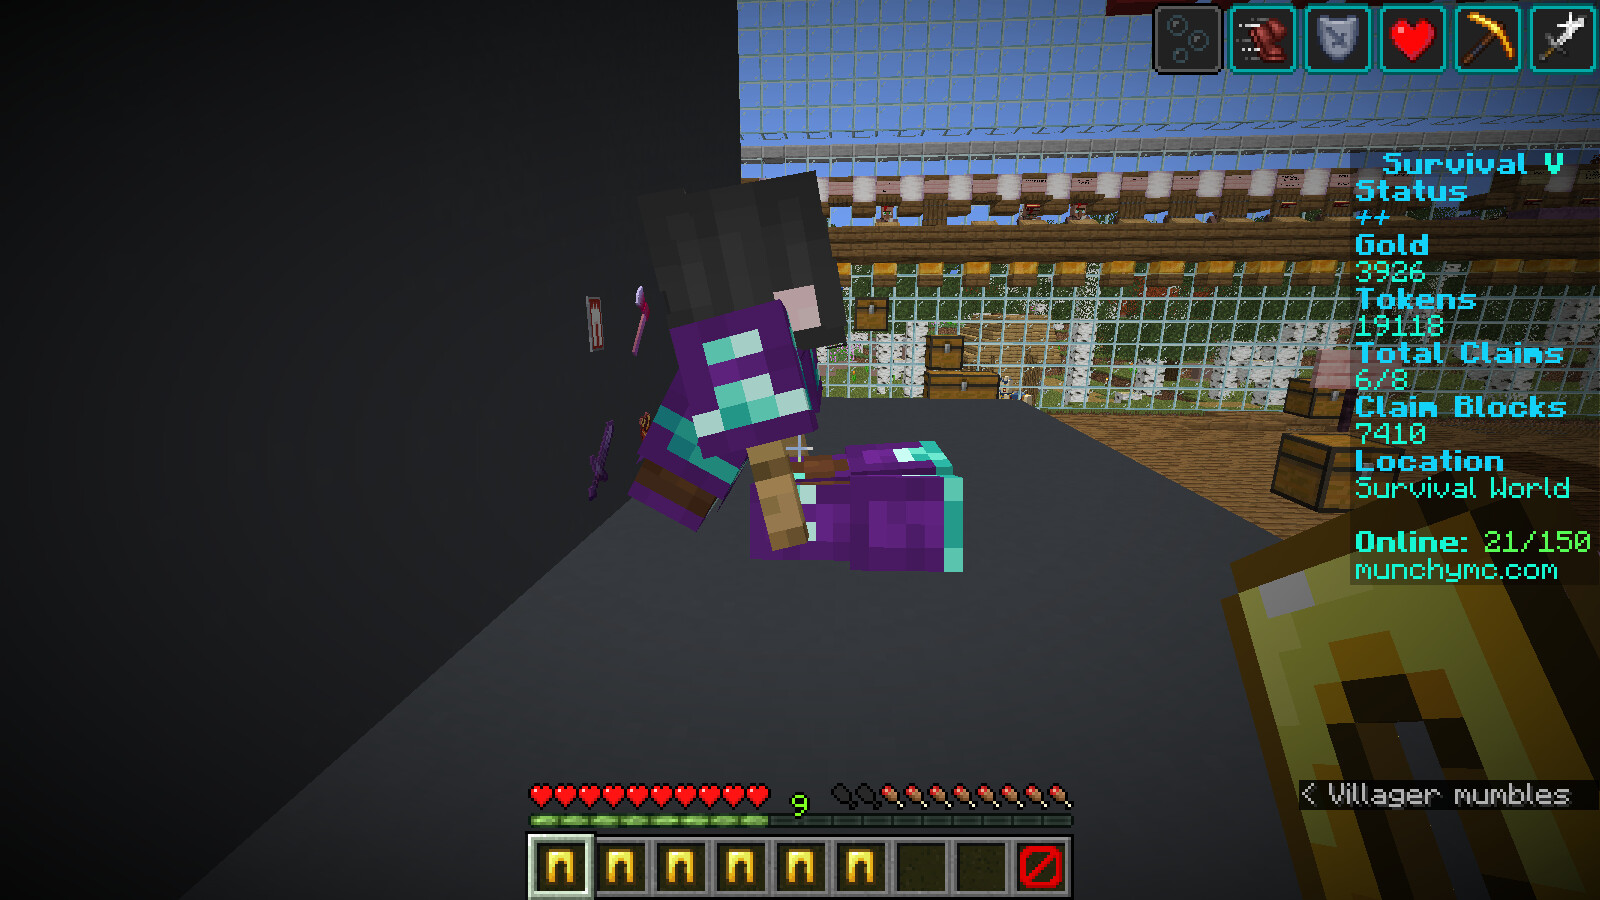
Starting from now everything depends on what you are personally going for in a armor stand build so I will show you my personal process of a person sitting in a chair and explain the steps along the way.
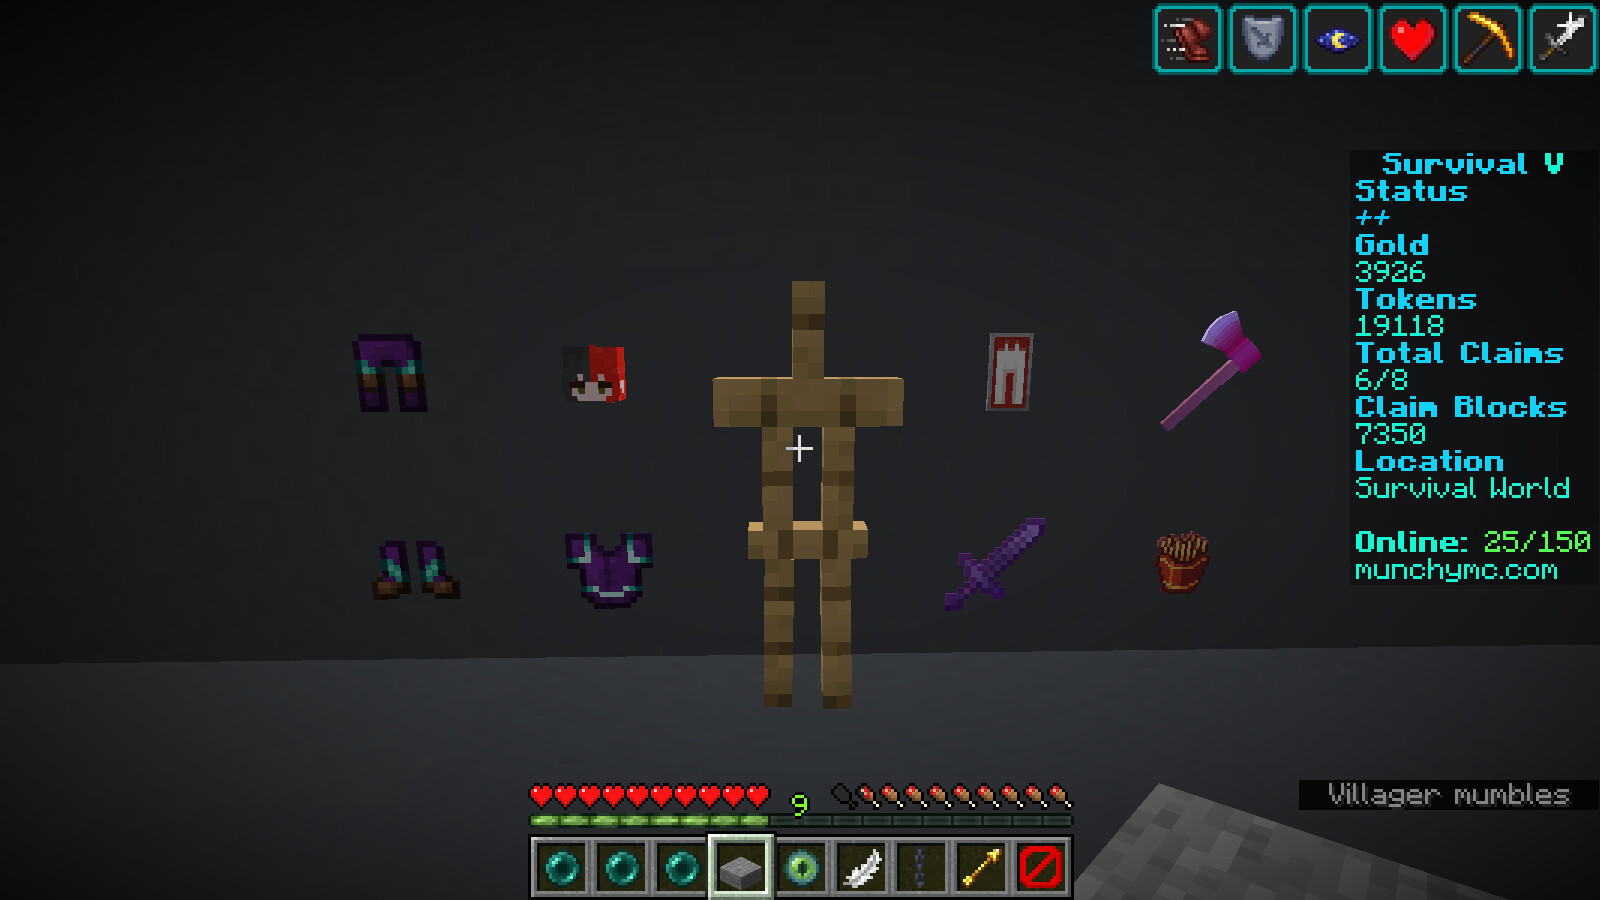
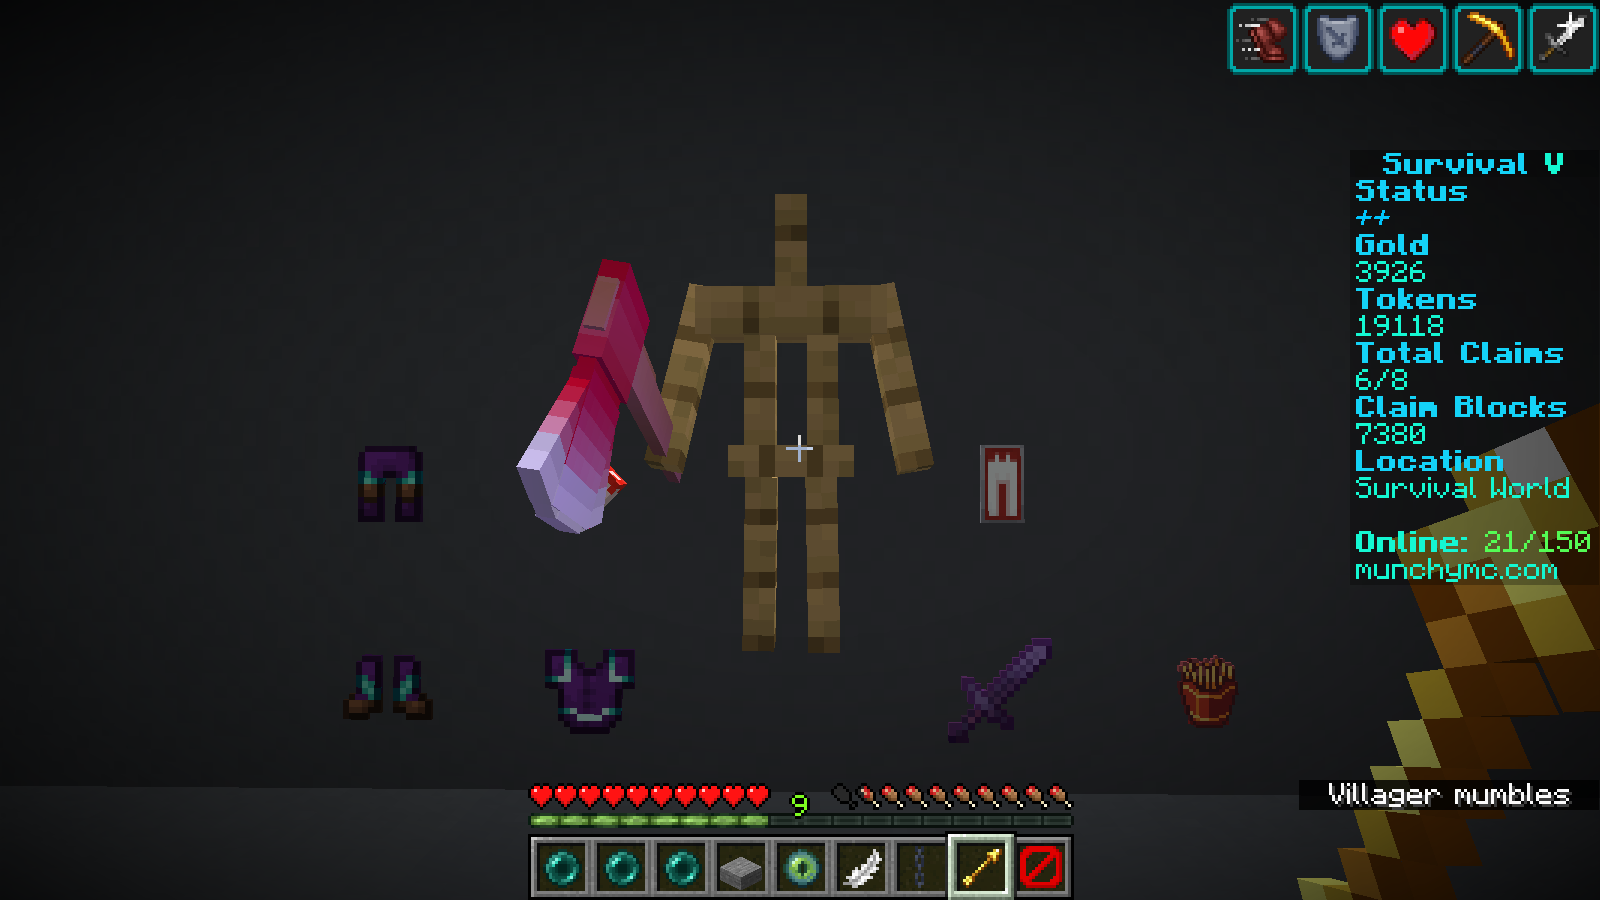
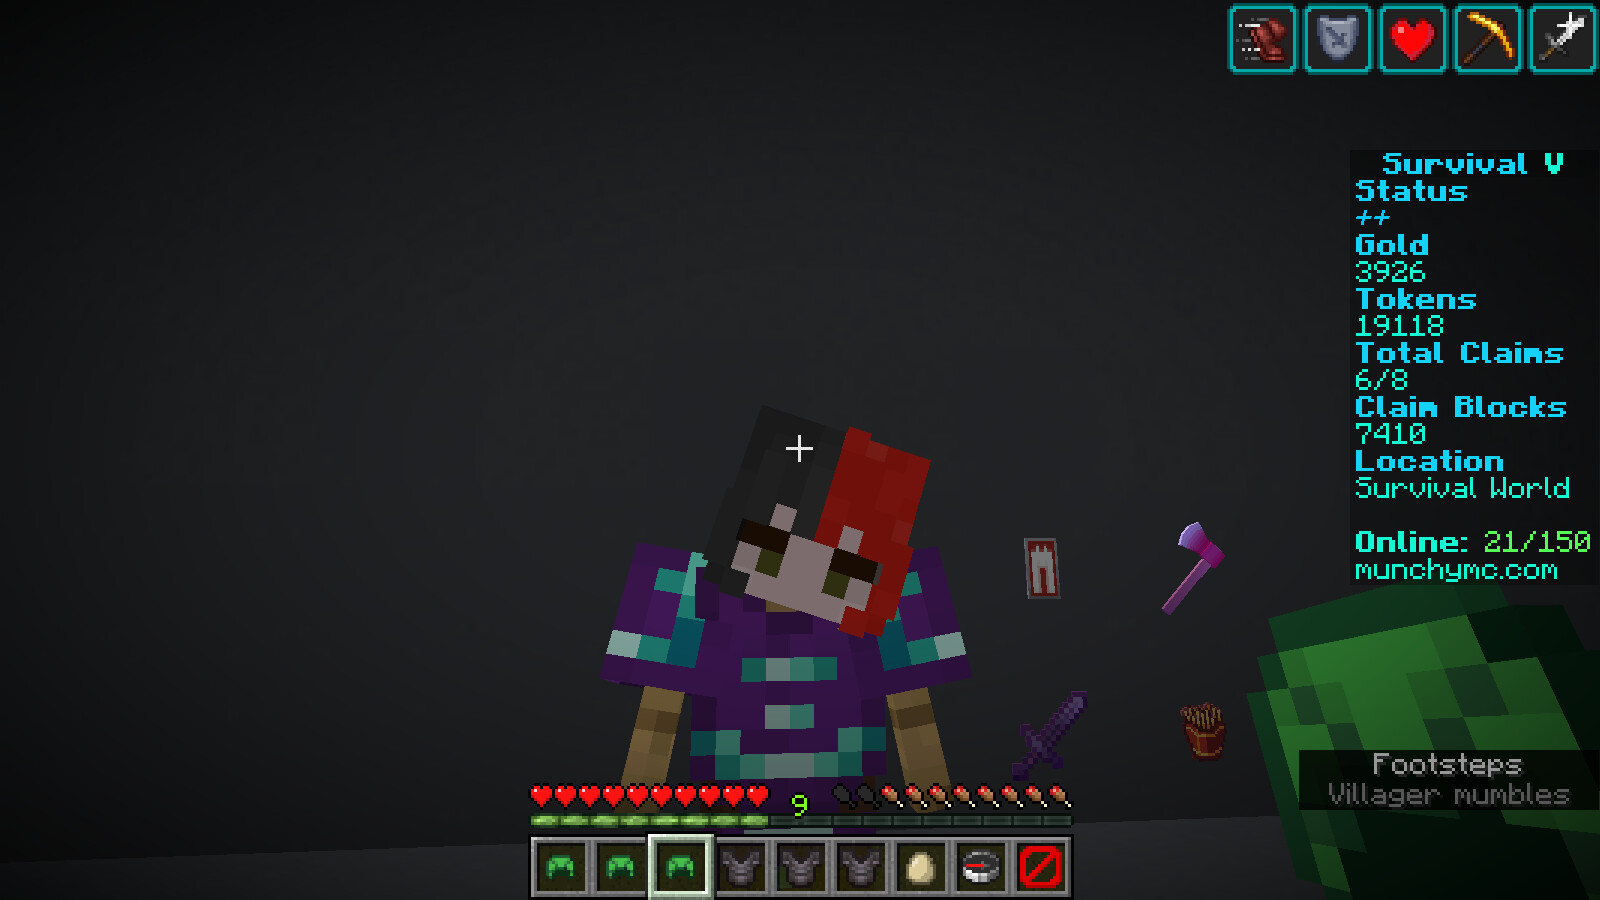
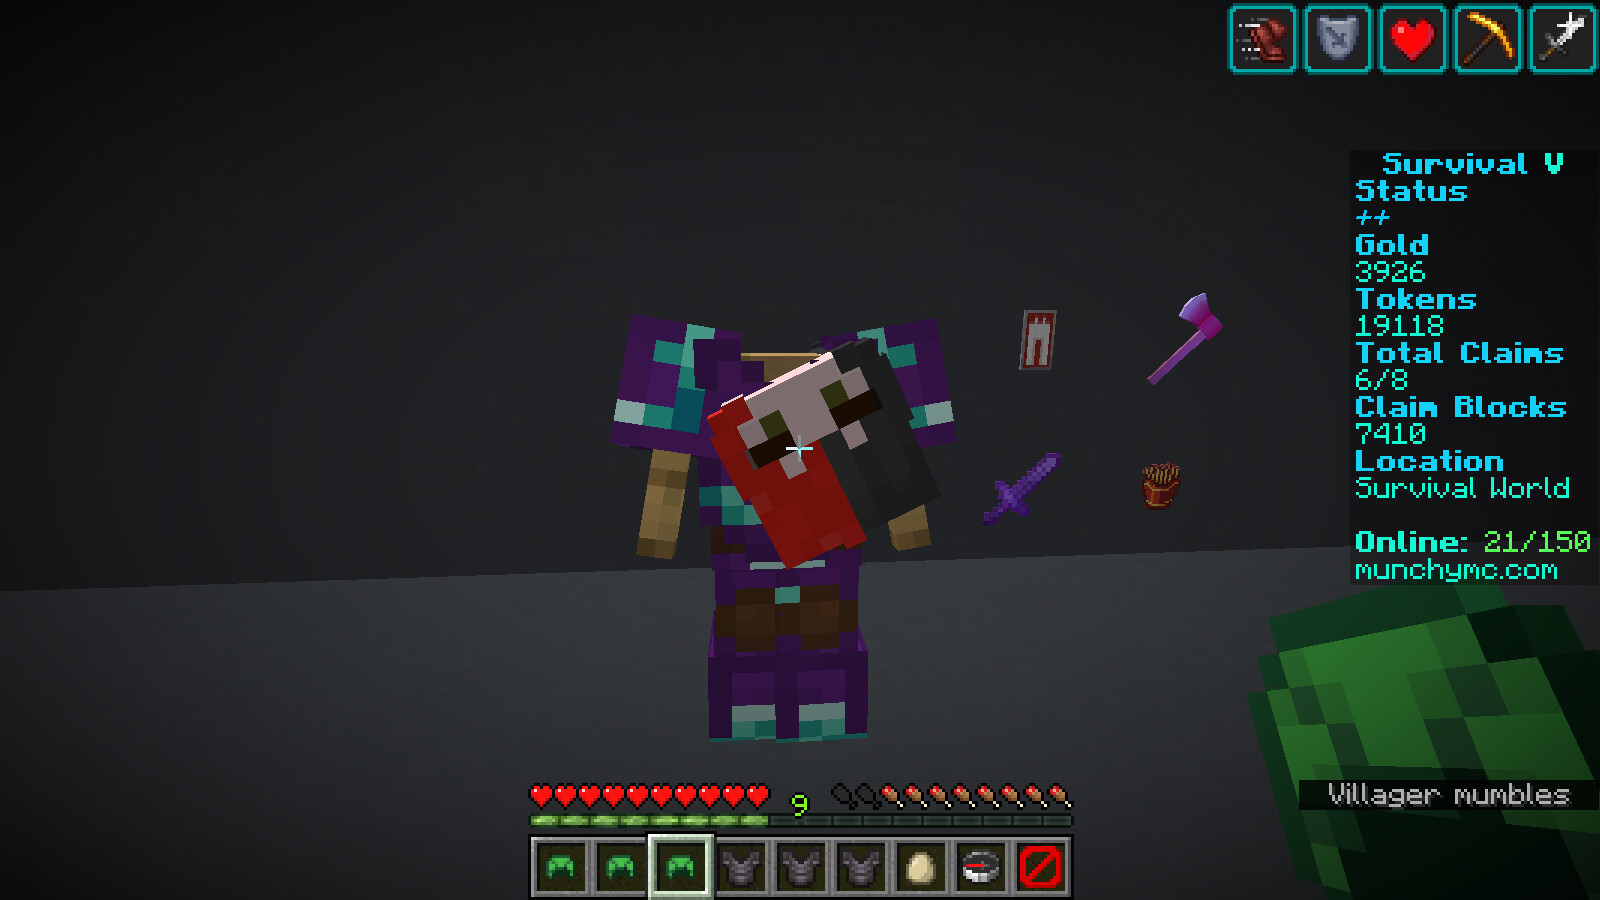
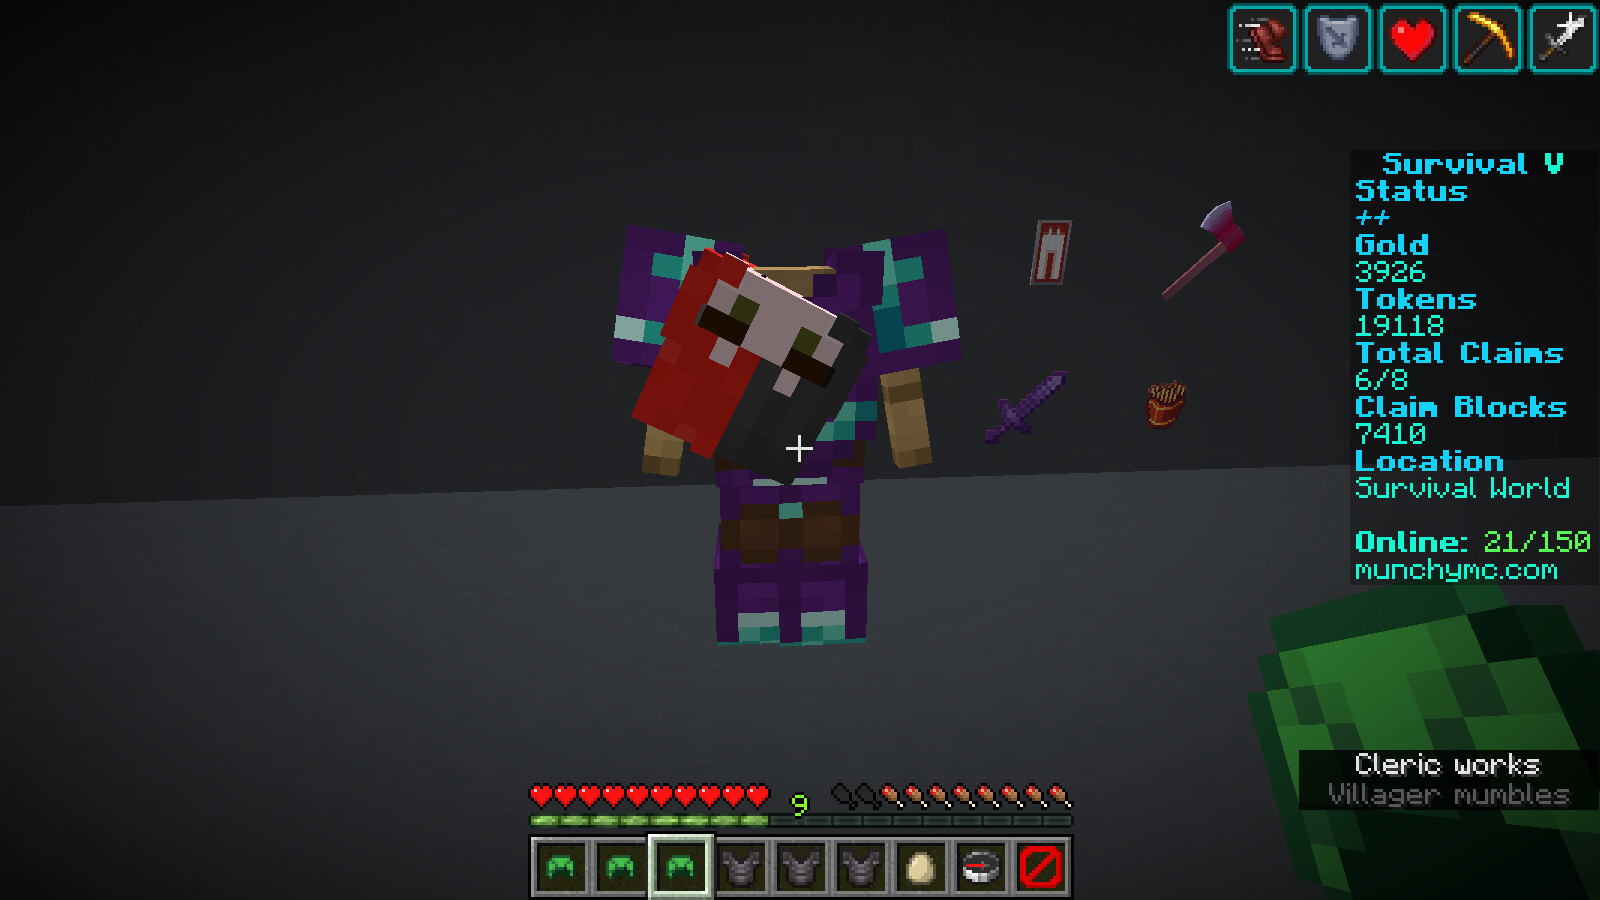
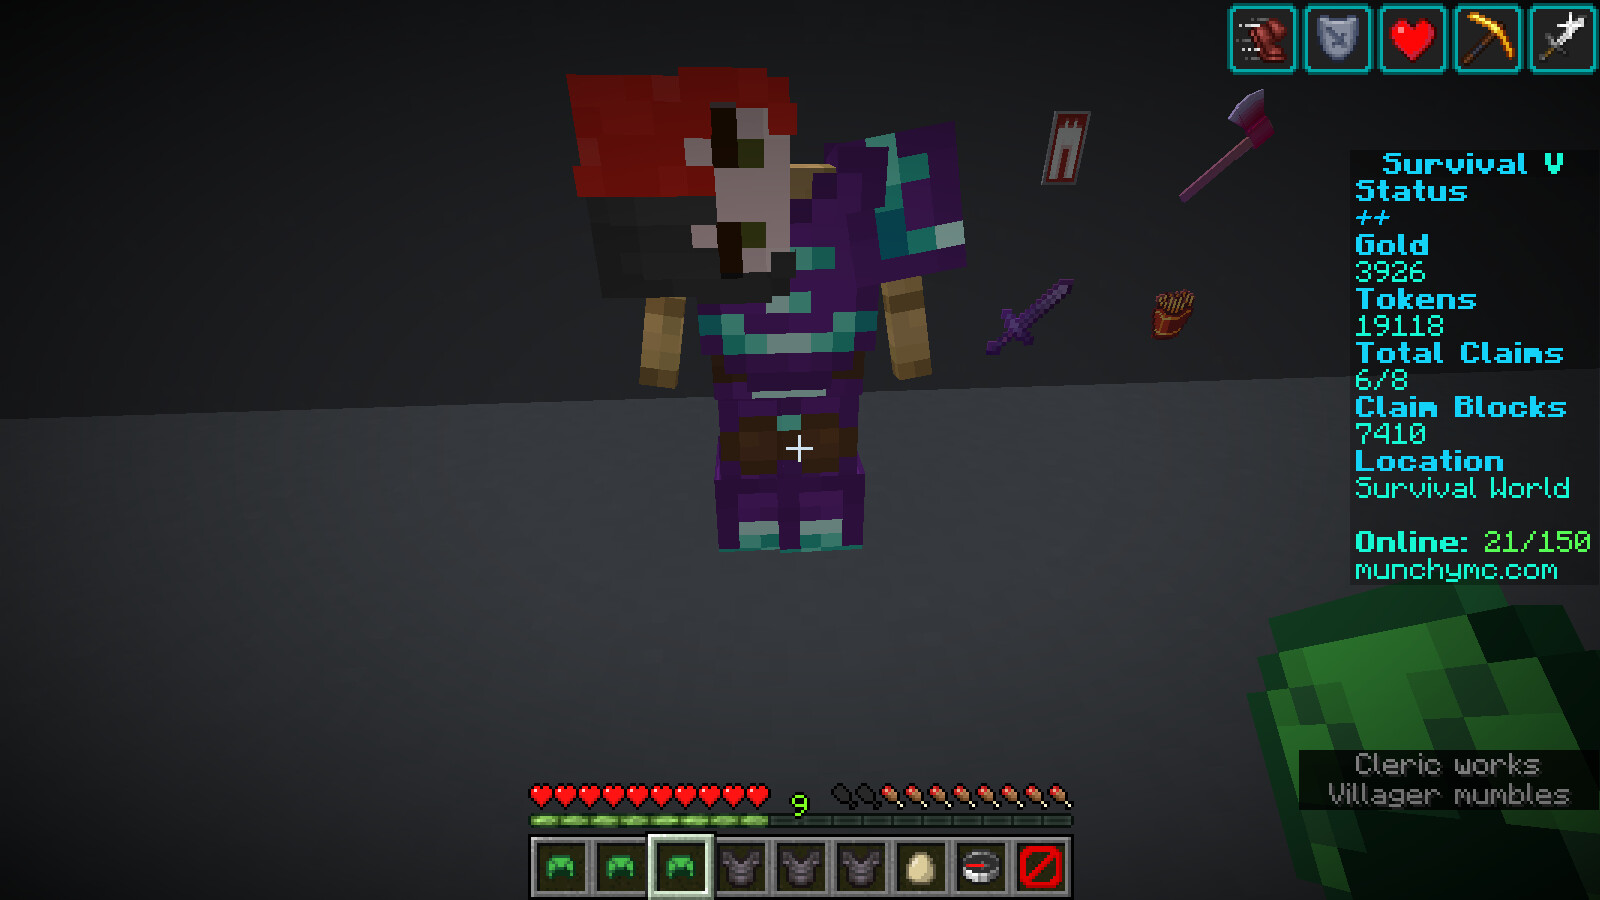
As a kind of disturbing way of showing how the tools “value depends on where you click on the stand” I decided to take a couple of screenshots using the “Head Z” tool and rotating my head. The way I think of this is I imagine a 360-degree angle and then click as if the very top of the head is 1 degree going all the way down to the bottom of the base and ending up at the full 360. Pay attention to where my curser is aimed in the following screenshots.


I can go on and on trying to over explain how all these movements change an arm or a leg but honestly, I suggest you just do what I do and just click all over until it looks good. Go on just play around with the different movements and see how they interact with each other and after a while you can kind of just tell at least the general area of where you should next click to get the pose you are looking for. Don’t be afraid to break the armor stand and just start over because sometimes it’s actually similar than it seems.
I’ve been keeping a secret that is possibly not so secret
So very quickly when I first started playing around with these silly stands, I noticed something that would happen fairly decently.
Sometimes when you edit a little bit too close to the sun you find that the parts do not really line up anymore and my solution to this is literally just another armor stand.
I mean I have an armor stand build that even uses 10+ armor stands (this can also be used to make left hands hold stuff wink wink). The great thing about this is you have a lot more freedom to move tricky parts.

Then when the 2 (or more) stands look how you want you can line them up using the ender pearls but be careful as the closer they are the easier it is to miss click on the wrong one.
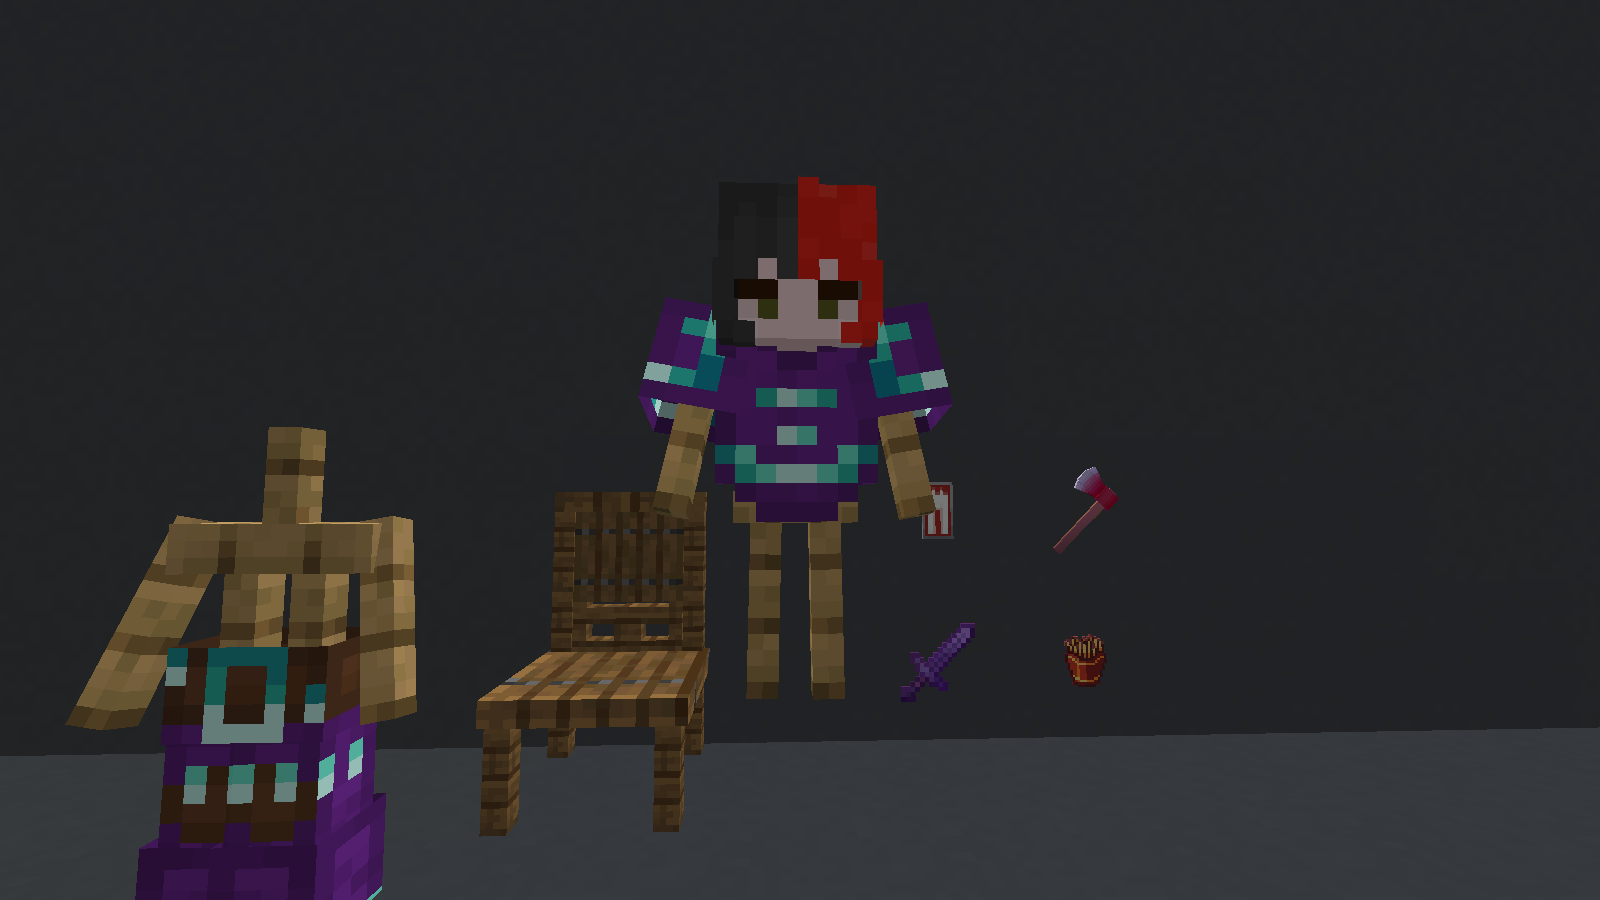
I Think This is All of the Main Points, but I Am Out of Ideas
If anyone made it to this point thank you so much for reading! I have been up for 24 hours so if there are any mistakes I probably missed them as I am not good at typing when I’m wide awake. Also, I am always wanting to learn new tricks so if any other architects read this comment them down below and I will probably end up editing this so I can come back to it to study. I will leave you here with some extra pictures of my armor stand builds make sure to visit Sakura Island Warps to see them for yourself!